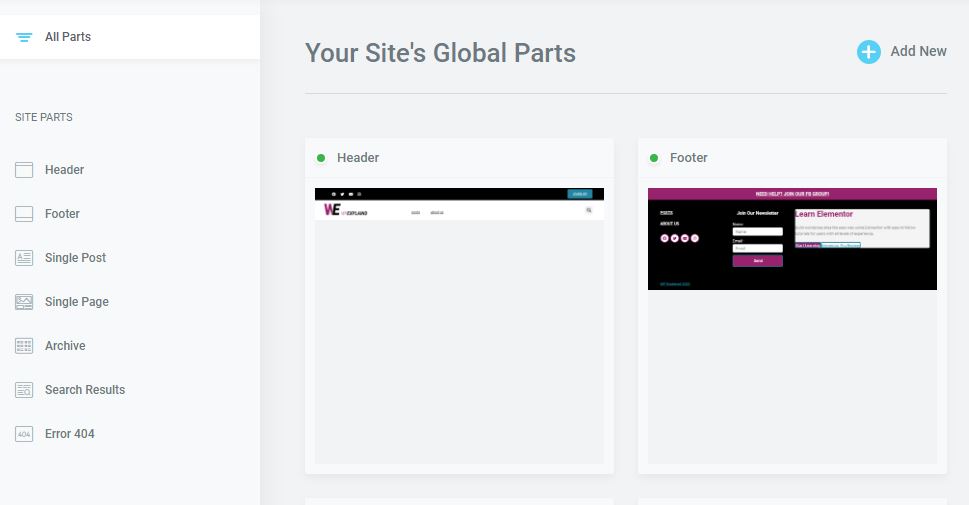
There are many parts, that together, make up your site. Your header is just one of several.
Creating a header in Elementor is easy. There are a couple ways to accomplish this task; one is by using Elementor Pro, and two is using the free version of the plugin with the help of an elementor addon.
Note: The free version will need the addon called called “headers, footers, and blocks” by brainstorm force (the creators of WP Astra). That being said, let’s get started with how to create a custom header in Elementor.
Here is a full list of Elementor addons.
Before we Begin
Before you begin creating your header you will first need to create a menu in the WordPress dashboard, that you can add to your header design later on.
If you already have one created, then you are ready to proceed.
Creating a Menu in WordPress
To do so, login to your dashboard, hover over appearance >> menus >> add new. Select the pages and add them to your menu and then drag and drop them in the order of your choosing.
Save your menu.
For a full tutorial on menus, read how to create a menu in WordPress.
Using the Pro Version to Create a Header Template

- Create and name a new template
- Design your header
- Add conditions
Create Your New Template
Open your theme builder and select “Add New”. A popup will open prompting you to select which type of template you are creating.
Select header >> add new.
Create A Custom Header in Elementor
You can sort the type of templates shown by using the drop down menu in the top left. The image below is showing “single post”, but since you are creating a header you would select “header” from the drop down.
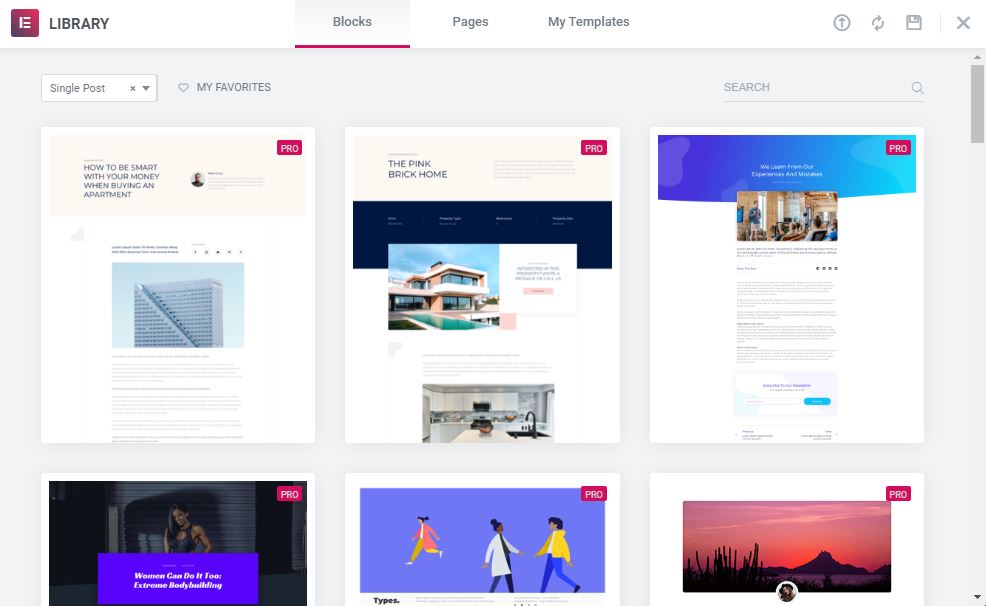
You can start with a template and customize it to your liking but for this example we are going to start fresh.
Click the “X” in the top right hand corner to begin with a blank page and design your own.
Drag and Drop Desired Elements
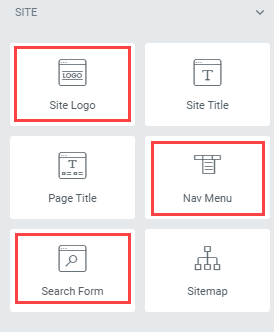
Drag and drop all of the key elements like logo, menu, and search form.
You can also add buttons or links to social media; any elements you desire.
In order for your logo to display you need to add it via the customizer or “site settings” in Elementor.
Add Your Logo in Elementor’s Site Settings
Navigate to the “site settings” panel by clicking the hamburger menu in your elementor panel. From there click on site settings.
The Elementor panel will turn blue.
From there click on “site identity”. This is where you will be able to add your logo and favicon as well as add your site name and description.
Example Header Designed in Elementor

In the above example, I used 5 of the following elements:
- Social icons
- Button
- Logo
- Nav Menu
- Search Form
First I created a section with two columns at the top and made it black. Then I added social icons to the left column and a button on the right.
Next, I created another section with 3 columns, made it white and added my logo, menu, and search form to their respective columns. You can add any elements you wish to your design.
Publish Your Design
Once you have finished adding all the desired elements, added your logo to site settings and have styled everything to perfection, click “publish” and then add your conditions.
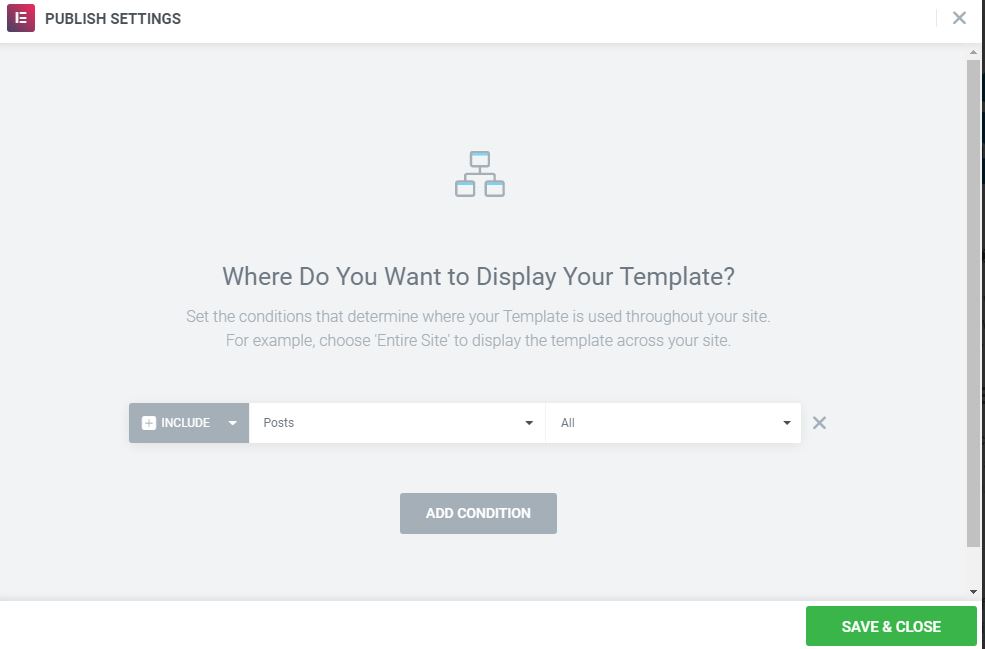
Add Display Conditions for Your Header
Conditions will decide where and when your newly created header will be displayed. You can choose to show this template on your entire site or just parts of your site.
This is great if you want to display more than one in different areas. This is useful in many ways.
For instance, if you’re running a membership site and want to display a different header for logged in users or if you are running an ecommerce shop and want to display a different header for your shop than you do your blog.
Click on “add condition”. By default, it will be set to “entire site”.
Select this option if you only plan on using a single header. Then, click “save and close”.
You have now created a custom header in elementor. Now let’s move on to how this is accomplished without using the theme builder from the pro version.
Using the Free Version of Elementor
The interface for creating a header template using the free version is a little different, but designing will remain the same. You will need the help of an addon. The steps below give a brief outline:
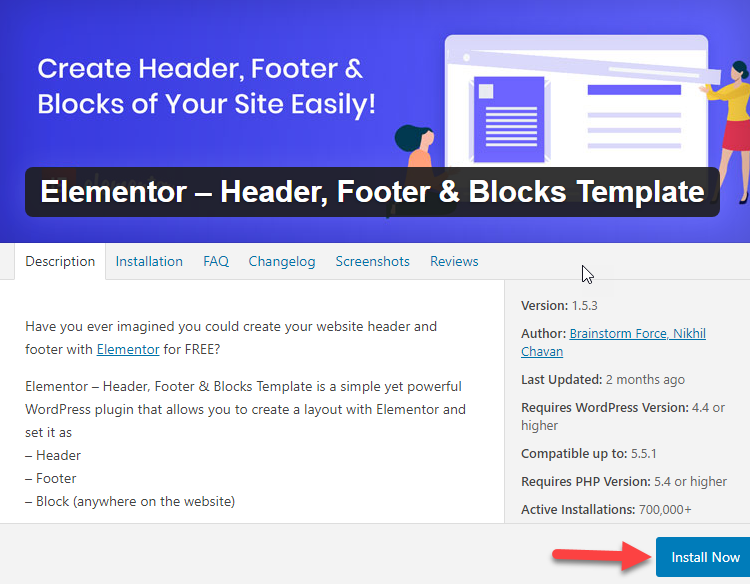
- Install headers and footers by brainstorm force
- Add new template
- Select display conditions
- Set user roles
- Click Publish
- Edit with Elementor
Instead of opening the theme builder like you would if you were using Elementor Pro, you will install an addon plugin (link above).
Once installed, you will need to navigate to appearance >> header and footer blocks.
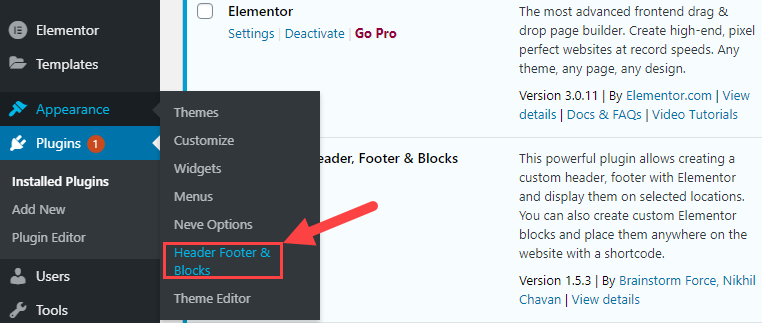
Click the link like seen in the image above. This will open a new screen.
Click on “add new”. You will then be directed to the plugin interface.
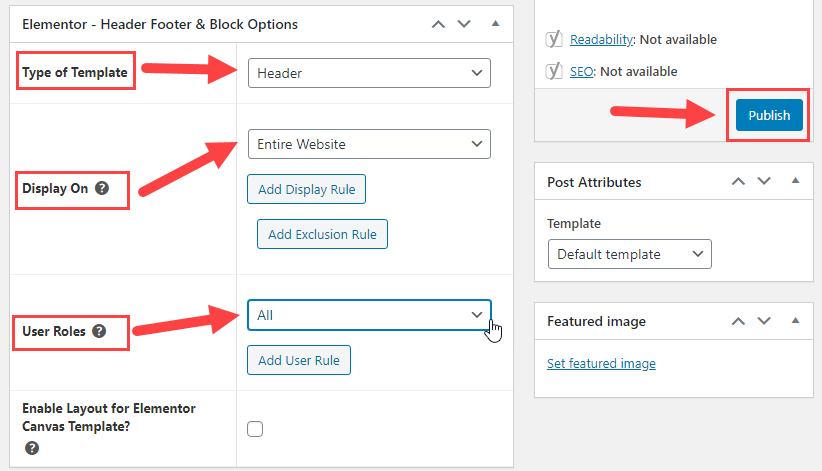
Plugin Interface
This is where you will be able to name your new header, set display conditions and user roles as well as publish your header.
Give it a name (i.e. header).
Type of template, select “header”,
Display on “entire website”,
Set user roles to “all”, and click publish.

Now that you have created your header template, all that is left to do is edit it with elementor. This will open the elementor drag and drop editor where you will be able to follow the design steps above.
Conclusion
Voila! Now that know how to create a custom header in Elementor with both versions of the plugin, but you may want customize other parts of your site.
If all you are looking to customize is your header and footer, then the free version of the plugin will be sufficient with the help of the header, footer, and blocks plugin.
If you want the freedom to customize every aspect of your site, then you need Elementor Pro. For more information, you can also read our review.